Friday, March 30, 2012

My Memories Software and Giveaway

*** GIVEAWAY CLOSED***  The winner is #24 who is Barb!!!  Congrats Barb!!!

So I am super excited about today's post.  A few weeks ago I was contacted by My Memories, a digital scrapbooking software company.  They asked if I would be willing to review their My Memories Suite.  At first I thought, "Ugghh I'm not a scrapbooker".  But I figured it couldn't hurt to try so I uploaded the software and Hoolay!!!!  Was I blown away.  Let me share a little bit about my test run.

TEST RUN 

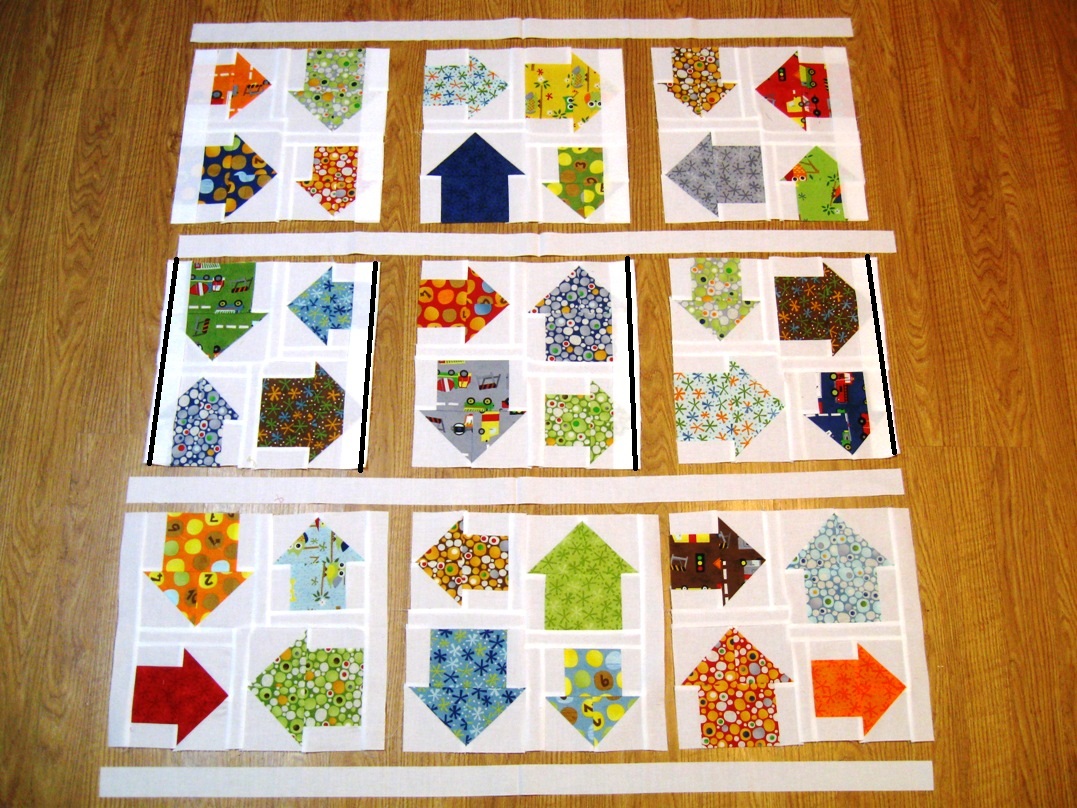
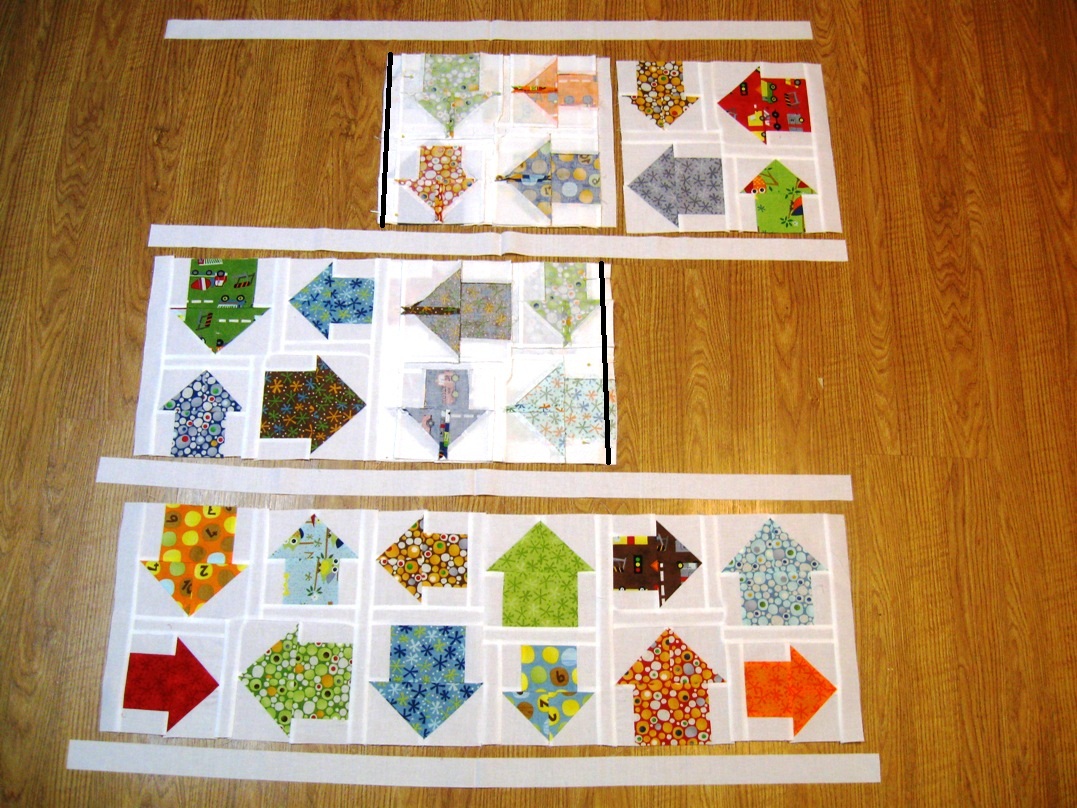
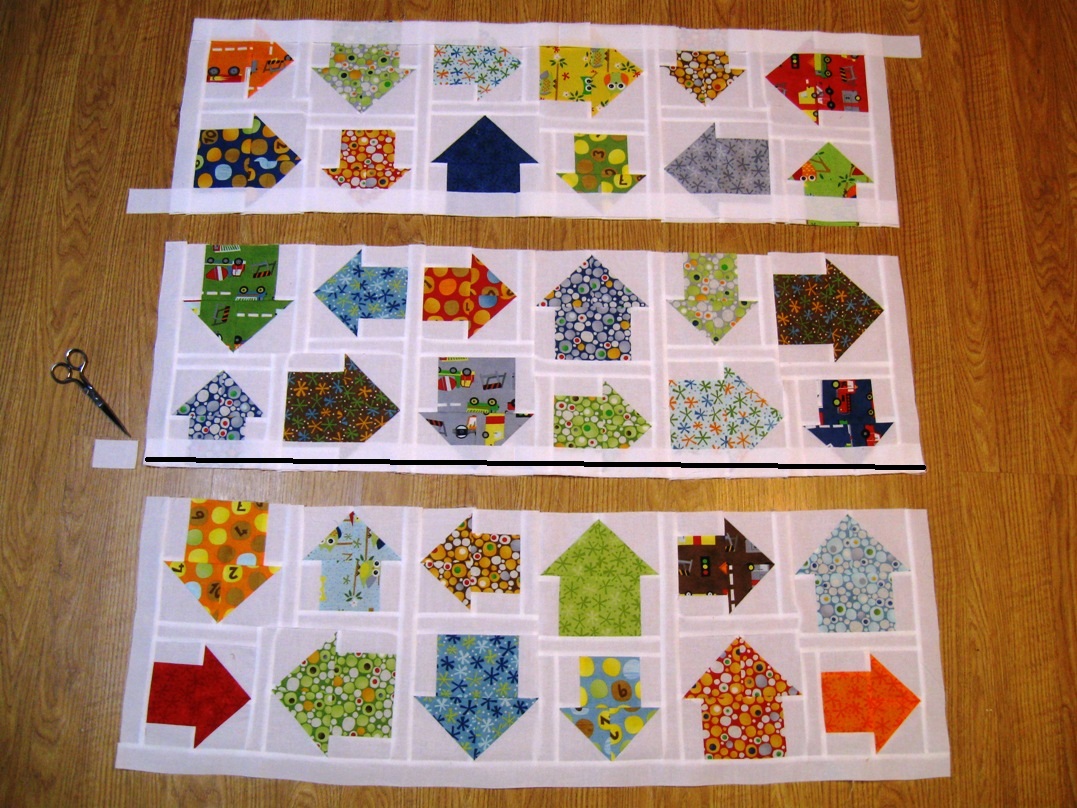
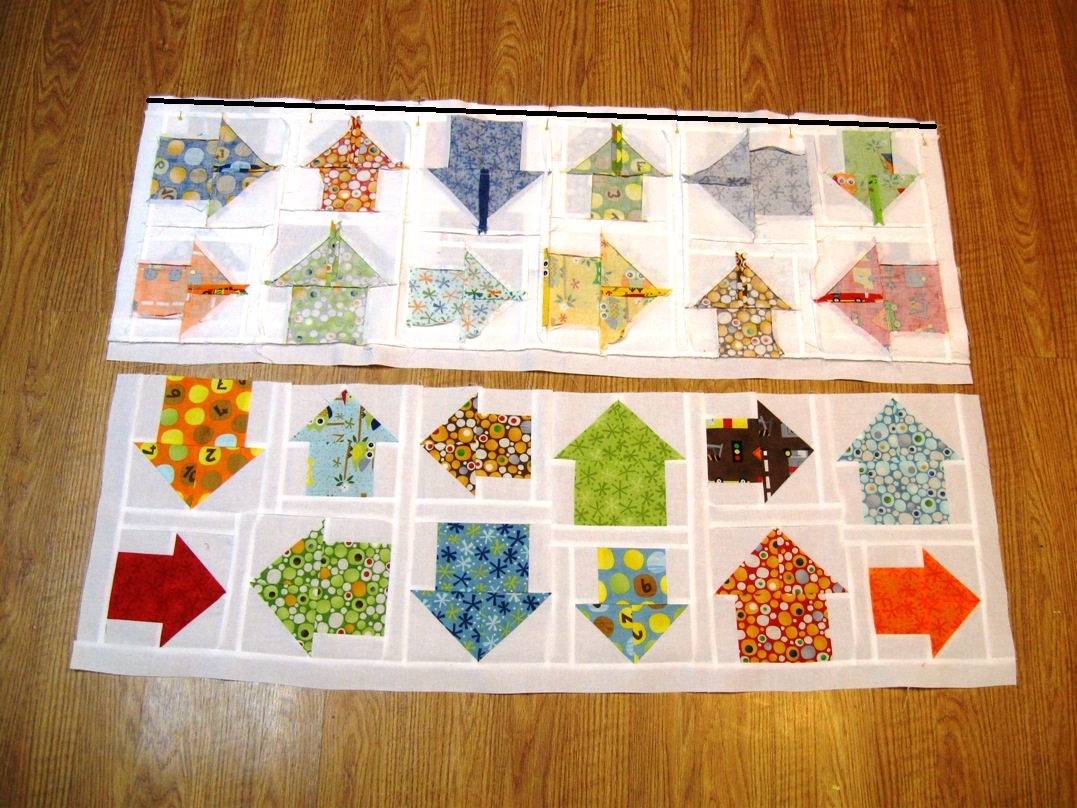
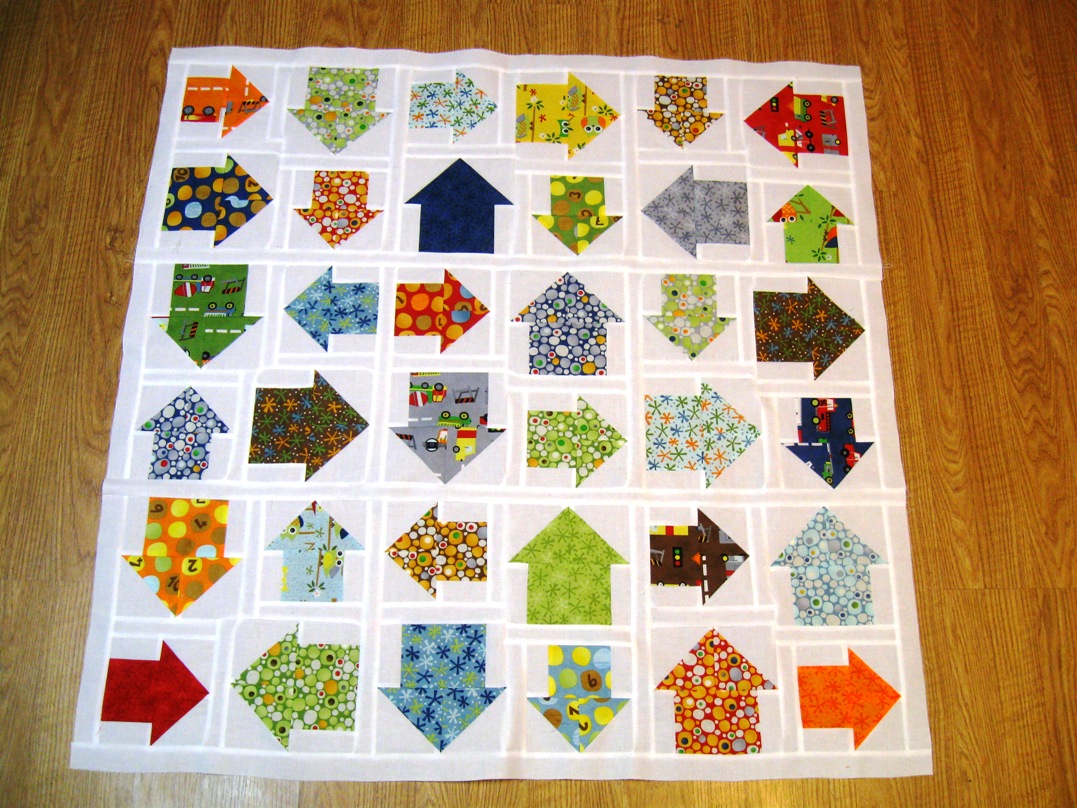
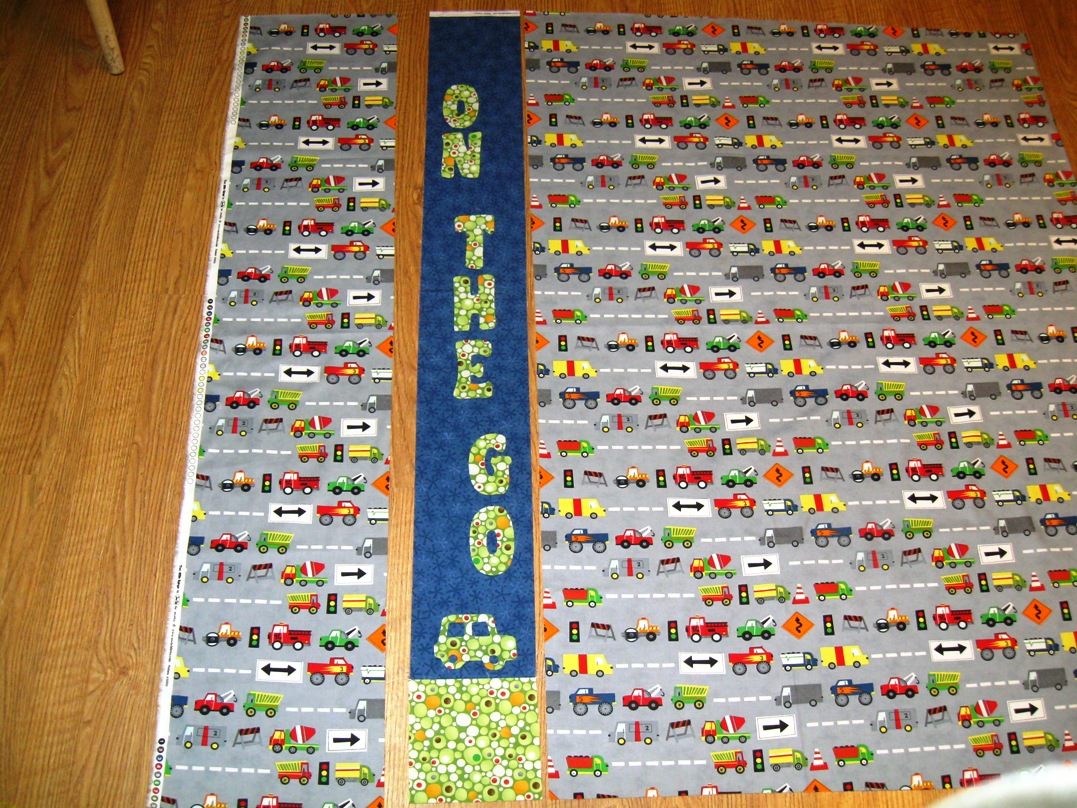
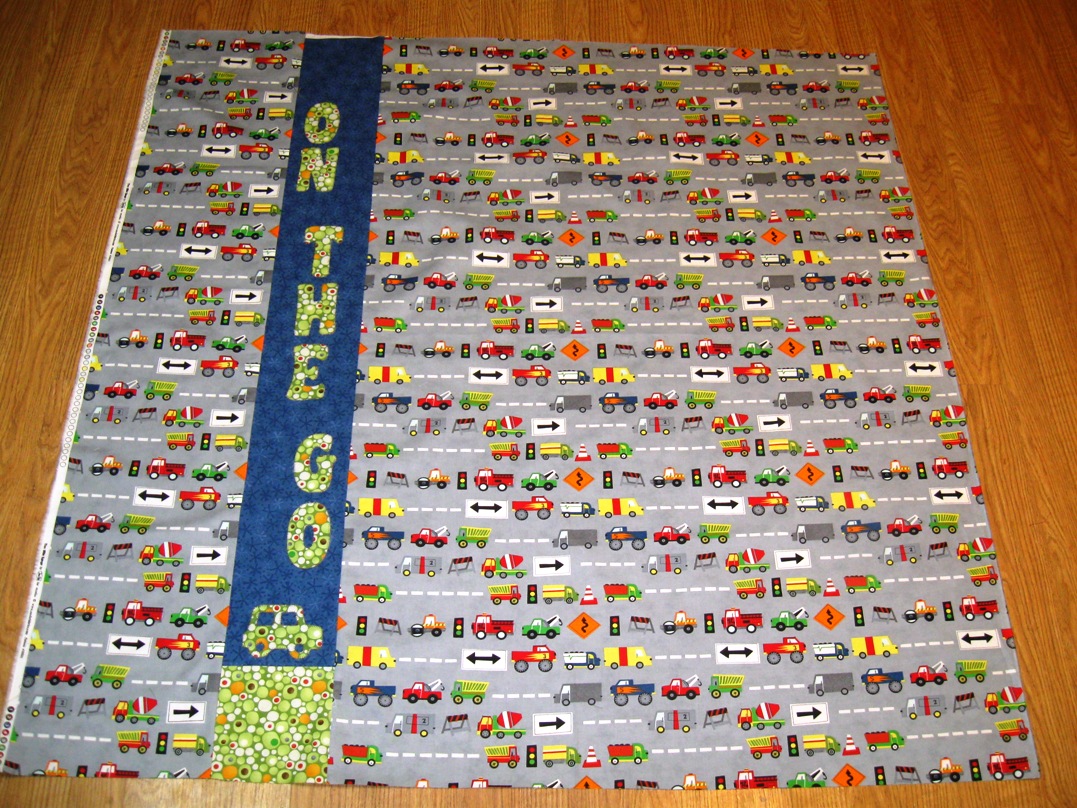
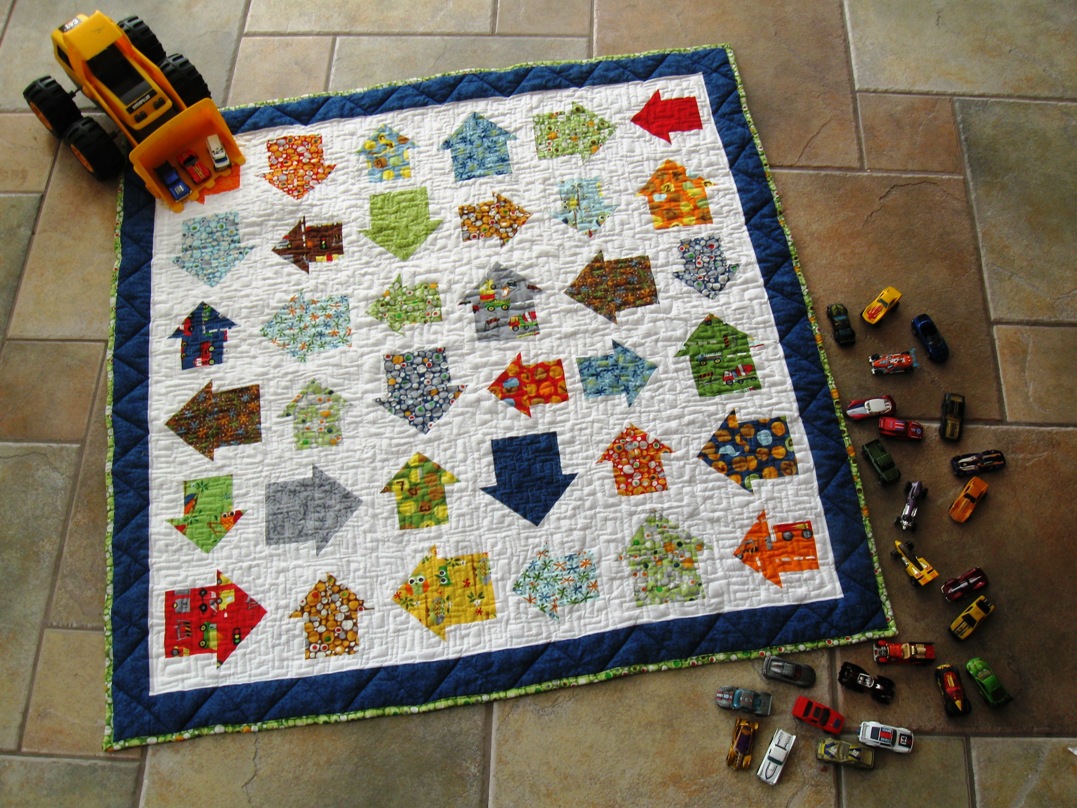
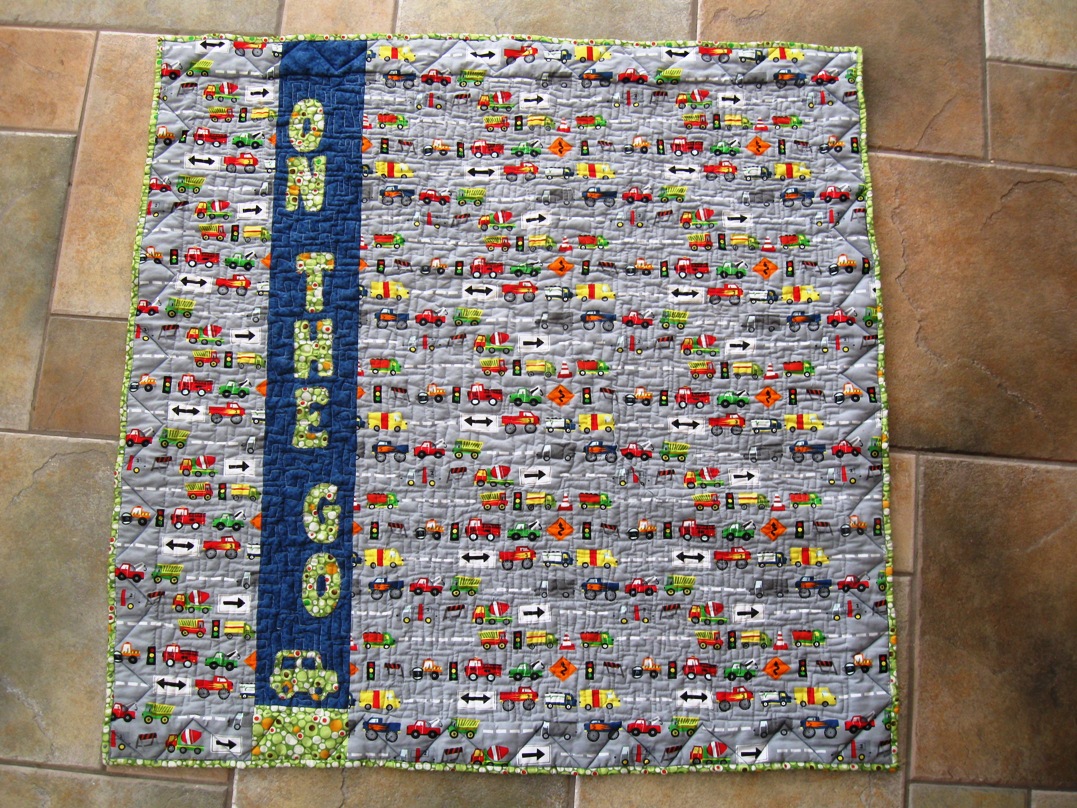
I started out basic.  It's a scrapbooking software so why not make a scrapbook, right :)  So I decided to make one of my Quilts from 2011.   So you start by picking a template (which there are so many to choose from)  and then you just simply drop in the pictures and type a few words.  Seriously, within 20 minutes I was done!!!

And then I thought, I need to show this on my blog.  So I clicked on the Share button.  Once again, Hoolay options.  You can have your digital book made into an actual book, made into a calendar,  export individual pictures, turn it into a slideshow, burn it on a dvd, and even . . . . .  Make it into a movie file!!!!!  So fun!!!  (I mean, how awesome would it be to have a video like this playing at a wedding, birthday, graduation, ect. ect. ect.)


So now that I had played a bit, and was a little more familiar with the software (which is super user friendly) I got to thinking . . . "How can I use this on my blog".   Instantly, I thought of blog buttons.  Why start from scratch when all you have to do is add in some words and you are done.  These 2 buttons took about a minute each!!  And aren't they so fun!!!  (oh, and in case you are wondering, I am not doing these swaps, they were simply for playing purposes :)

And ya, you can have pictures in your blog buttons as well.  So fun!!!  One of my favorite things about the software is how easy it is to customize.  For instance, I made that white text box bigger than the original template.  And in the buttons above, I deleted out the picture spots and added text instead.   It is so simple to make it look exactly the way you want!!


And why stop at buttons???  Headers are always fun too!!!  I made this up on the center of a page and then exported the digital image, cropped it to header size  and WhaLa!!!  A header whipped up in 4 minutes.


And what about tutorials??  Could I use this software in my tutorials??  You betcha!!!  How much cuter is it to see this mosiac of pictures then a plain old black and white.  And I love being able to type instructions right on the pictures!!  (I think you will be seeing this on a tutorial soon :)


So now I was really having fun.  And I got a little daring.  I figured, I was getting so familiar with customizing a template to the look I wanted, why not start without a template.  Like as in make up a page completely from scratch.  So I picked a background (oh so many to choose from), added some embellishments (cuteness galore), added some photos (easy) , and added some words (so many fonts).  And within minutes, ShaBam!! I made this page all on my own!  This software is so easy to use!!!  You can literally make whatever you can dream up!!!

Oh, and side note, While I was adding the words I stumbled on to what I think might be my favorite "cool thing".  You can have a image show up in your words.  How cool is that!!!!  That's my quilt in the Happy Quilting title :)


So by now I am feeling really comfortable, and honestly, having a really good time.  So I figured, lets see if this software can solve the little video problem I have been having.  You remember that FMQ video I showed a few months ago, well not much has happened with it.  Why?? Well I want to be able to add printed words to the video and I wanted to figure out how to be able to take several videos and put them all into one video. And I wasn't getting very far with video software that came with the computer.  

So I thought, I wonder if I can put a movie into a scrapbook, have the words come up first, then switch to the movie and then back to the words.   And sure enough, Yes you can!!!!! 


This has go me so excited.  (I have some serious plans for some videos in the near future now!!!!)  I can add as many small videos as I need into one scrapbook and then turn the entire thing into a movie file.   And after I made this I found you can also add narration, so maybe you won't have to listen to the sound of my sewing machine in the background, unless you like that :)

REVIEW

So the quick answer -  I really liked this Making Memories Suite

Here's my 2 cents

 I know that there are lots of free programs out there that you can use to do similar things.  I have used them in the past.   I have used one program for mosiacs, another for banners, another for buttons, another for a book of my kids, on and on.  I really liked that this program has it all and in 1 place and has capabilities beyond what any of the separate online programs have.  

I liked that the templates made things fast!!!  Fast is important to me.  This program was so great for whipping up a blog button.  I used to create buttons in Microsoft Word and then I got a graphic designer to help me when they looked awful.  This program literally gives you the graphic designer's templates, you just have to add the words.

I also really liked how much freedom I had with this program.  I could use a template for speed, but if there was something I didn't like I could just delete it.  If there was something I wanted to add, I could just add it. 

For me personally, I felt like the program was really user friendly. But, As I had mentioned before, I have used other programs  for editing digital images and making buttons and so forth.  I think that knowledge helped to translate to this software.  There was a bit of a learning curve at first, but the more your play with it, the more you get to know it.

Finally, I liked the versatility of this program.  It is fabulous for creating scrapbooks but it can do oh so much more than that.  (In fact, I was just thinking, It would be great for making up some business cards!!!)   You can create anything that you can dream up.

So ya, I liked it!!!  I am excited to continue to play with it to see what I can come up with.  And you can bet that you will be seeing more creations from the My Memories Suite on the blog rather soon :)

GIVEAWAY and DISCOUNT

So are you intrigued?? Are you excited??? Do you want to try out the My Memories Suite for yourself ???  We'll there is 2 ways you can.

First . . . If you are lucky enough, you can win a copy of the My Memories Suite.

To enter for a chance to win simply pop on over to My Memories and then pop back here and leave me a comment telling me your favorite Digital Kit :)  

Easy as that :)  One comment per person please :)    The giveaway will be open until April 5th and I will announce a winner on the morning of the 6th.  International Entries welcome :)  


But we all can't win . . .  and so for the rest of us there is a DISCOUNT!!!

My Memories is offering a special discount to Happy Quilting Readers!!!  Simply copy and paste the code

STMMMS89139

and enter it into the promotional code field on the shopping cart page for a $10.00 discount off the purchase of the My Memories Suite Scrapbook software and a $10 coupon for the My Memories.com store.  That's a $20.00 value!!!


Oh, and if you buy the software and then happen to win the giveaway you can be reimbursed.  No worries., We have got you covered :)

So jump on over to My Memories and check out this amazing software!!!  I think you will like it every bit as much as I do.  Have a Happy Quilting Weekend!!!!
Pin It!

Thursday, March 29, 2012

TNT with some Computer Fun

So a few weeks ago I was asked by the My Memories group to take a look at their digital software for making Digital Scrapbooks.  Yesterday, I finally got to play with it some.  Now, I don't know how many scrapbooks I will be making, but it sure was super easy to whip up some banners and buttons.  


Come back tomorrow when I will do a full rundown on this awesome software.  Oh, and there will also be a giveaway for one of you to get it for free :)  Trust me, your gonna love it!!!

So I was playing on the computer and having a ball for my Trying New Things.  What have you been up to??

Pin It!

Wednesday, March 28, 2012

Not so much Progress but a lot in the Works


First off, thank you for all of your well wishes yesterday.  We are still sick, and I have more kids home from school, but the ones that were sick first are feeling better so hopefully we will get through it soon :)

I haven't done a WIP Wednesday for a little bit.  Things have been crazy this month.  Which explains why there isn't too much under the completed stage section.  But there is also a lot going on that I can't really show.  Which is lame, sorry.

Here are 2 stacks that I am hoping to cut into rather soon-ish so I can move them from the designing stage to the piecing stage :)  Both are stacks of Micheal Miller fabrics and both have some pretty exciting plans for them. Yippee Skippee for lovely stacks of fabric!!!!


Here's the rundown :)  There are a few more projects in the quilting stage so that is good :)  Almost done :)


Designing Stage
  • King Size Serenity Quilt
  • Circle Meets Square Quilt
  • Super Solids Quilt
  • Secret Project QQ
  • Secret Project 1B
  • Moda Bake Shop Take it All
Piecing Stage
  • Jessi and Me Quilt 
  • Twister Toddler Twin Quilt
Quilting Stage
  • Stars Quilt-A-Long
  • Solids Quilt for Free Motion
  • Secret Project MB
Completed Stage
  • 4th of July Table Runner for Sister-In-Law 
  • March Bee Blocks

Pin It!

Tuesday, March 27, 2012

With Spring Comes . . .


Sickness.  At least for our family.  I was hoping not to go through another round of the colds but alas were down for the count.  Luckily, it seems to be about a 24 - 48 hour thing so hopefully by tomorrow-ish, we will all be feeling better.


So ya, I don't see any sewing getting done today.  Maybe I can squeeze in a nap, now that would be a little slice of heaven.  Be back tomorrow, hopefully feeling a little more chipper and ready to Spring into Spring.
Pin It!

Monday, March 26, 2012

Ironing Board Surprises

Since Christmas, I find that each time I go into my sewing room I have a new little surprise waiting for me on my ironing board.  Our kids received some Perler Beads and they love them.  Do you remember these??  Did you have them growing up??  I know I did.  Hours of entertainment placing those little beads on the pegs.  


So, I iron them and fuse together their little patterns and then return their surprise.  Each time being told about the wonderful inspiration they had for their pattern and how this new one is their absolute favorite so far.   They can get pretty creative and I just love how happy they are when making them.  (Except when the 3 year old comes along and wants to join in, then not so happy :)


But I think my favorite part about these is how I get inspiration for designing.  I mean, how cool is that color combo on that multi-colored hexagon.  And I have quite a few patterns buzzing around in my head from designs they come up with in beads :)  You really do find inspiration everywhere :)
Pin It!

Friday, March 23, 2012

Winner, Winner!!!!

First off, thank you to everyone who left such kind comments about my newest Moda Bake Shop Tutorial!!!  I am just so happy that you all love it as much as I do :)

Now let's get onto the winner of the Fat Quarter Shop Sponsored Giveaway for the Quilting Gallery Blog Hop!!


The winner of this fabulous Fat Quarter Bundle of A Walk In The Woods is . . .  #454

Who happens to be . . . DanaK - WaterPenny!!!   Congrats Dana, I will send you an email :)


Thanks everyone and have a Happy Quilting weekend!!!!

Pin It!

Thursday, March 22, 2012

On The Go - A MBS Tutorial - Oh and TNT

Oh my goodness, am I excited about this new Moda Bake Shop Tutorial!!!!  I fell in love with the Ten Little Things line the minute I saw it.  I mean how often do you get fabric lines that just scream All Boy!!!  So I really tried to create a design that was in turn, All Boy.   


 I did some cute applique on the back that is part of the tutorial as well.  I just love the cars print and so I had to throw in a car applique as well :)


And remember the new quilting design I showed on TNT a few weeks ago.  Well here it is again, but a whole lot easier to see :)  It really was a fun design to do and once I got the hang of it it wen't really fast :)  And I just love how it fits the "On The Go" theme and looks more boyish.


And now that this Moda Bake Shop Tutorial has been published for a while, I can now post it here on my blog for your convenience ;)   So just follow along below for the full step-by-step tutorial.  And if you love it, you can get the printer friendly version here :)  


All Right . . . Let’s get going!   To make your own On The Go baby boy quilt you will need:
2 Ten Little Things Charm Packs
1 1/4 Yards of Bella Solid White for Quilt Top Background
1/2 Yard for Applique and Binding (I used 30505 40 – Navy Stars)
1/2 Yard for Borders and Pieced Back (I used  30504 17 – Lime Dots)
1 1/2 yard for backing (I used 30501 19 – Grey Trucks)


STEP 1 : CUTTING

For pieces for the small arrow select 18 prints from your first charm pack and then gather the same 18 prints from your second charm pack.    From the first set of prints cut a 3 1/2″ x 3 1/2″ square out of each charm.  From the second set of prints cut a 3 1/2″ x 3″ piece out of each charm.  Set squares aside.


For pieces for the large arrow select another 18 prints from your first charm pack and then gather the same 18 prints from your second charm pack.  From the first set of prints cut a 4″ x 4″ square out of each charm.  From the second set of prints cut a 3 1/2″ x 4 1/2″ piece out of each charm.


You should now have 18 squares of each of the 4 designated sizes. (2 piles for the small arrow, and 2 piles for the large arrow)  Great :)  Let’s keep cutting!


From your white yardage you will need to cut the following:
   For the Small Arrows                                                     For the Large Arrows
     (36) 1 1/2″ x 3″ rectangles                                             (36) 1 1/2″ x 3 1/2″ rectangles
     (18) 3 1/2″ x 3 1/2″ squares                                           (18) 4″ x 4″ squares
   For the Small Arrow Sashing                                         For the Quilt Top Sashing             
     (18) 1 1/2″ x 5 1/2″ rectangles                                       (12) 1 1/2″ x 12 1/2″ rectangles
     (18) 1 1/2″ x 6 1/2″ rectangles                                       (4) 1 1/2″ x Width of Fabric strips

From your remaining yardage you will need to cut the following:
From your Pieced Back and Border Yardage cut
        (4) 3″ x Width of Fabric strips
        (1) 6″ x Width of Fabric strip
From your Applique and Binding Yardage cut
        (5) 2 1/2″ x Width of Fabric strips
        (1) 6″ x 5 1/2″ rectangle  (if they cut a little crooked you can just do 6 x 6 ðŸ™‚
         Set the rest aside for your applique


STEP 2 : MAKING THE ARROWS

***  Note… Sew all of step 2 assembly line fashion.  For each part of the direction repeat the process 18 times and when stitching make sure to chain stitch, this will save a lot of time :)
 We will start with the Large arrows.  So grab your pile of 4″ x 4″ cut charms and your 4″ x 4″ white squares.   Draw a diagonal line from corner to corner on the back of the charm.  Place the charm with right sides together on a white square.  Pin along either side of the drawn line.  Sew a 1/4″ seam on either side the drawn line by chain stitching all 18 left hand seams, clip your threads, and then go back and chain stitch all 18 right hand seams and clip your threads.


Cut down the drawn line. (you can use your rotary cutter or scissors, whatever is easier for you)  Press your seam towards the charm fabric.


Now you should have 36 HST’s and they are ready to be trimmed up.  Using the diagonal on your ruler trim the HST’s down to 3 1/2″ x 3 1/2″.  If you are unsure how to trim your HST’s please see the tutorial I have here for help :)


Now we are ready to make the arrow points.  Take your 2 HST’s of the same print and lay them out as follows.  Place the left HST onto the right HST with right sides together.  Pin if you desire.  Stitch a 1/4″ seam along the pinned edge.  Clip your threads  and press seams open to reduce bulk.


And for the bottom of the arrows, grab your 18 print 3 1/2″ x 4 1/2″ print rectangles and your 36 1 1/2″ x 3 1/2″ white rectangles.  Lay them out as follows.  Lay a white rectangle onto the left hand side of a cut charm with right sides together.  Stitch a 1/4″ seam along the edge.  Repeat the same process on the right hand side. Clip threads and press towards charm print.


And now you can put your arrows together.  Match your arrow point prints to your arrow square prints and layout as follow.  Lay the square print piece onto the point print piece and pin.  Sew a 1/4″ seam along the edge.   Press the seam open to avoid bulk.  You should now have 18 Large Arrows :)  Set them aside.


Onto the small arrows,  These are made in the same fashion with just a minor change.  So grab your small arrow pieces ((18) 3 1/2″ x 3 1/2″ cut charms, (18) 3 1/2″ x 3″ charms, and (36) 1 1/2″ x 3″ white rectangles)  and use the same steps you used to create the small arrows.  The only difference being that when you trim your HST’s trim them to 3″ x 3″.  You should now have 18 small arrows.


Now you can add the small arrow sashing.  Retrieve your small arrow sashing pieces. ((18) 1 1/2″ x 5 1/2″ rectangles and (18) 1 1/2″ x 6 1/2″ rectangles. )  Choose any side of the block to start on.  Lay a small sashing piece onto the side with right sides together.  Stitch a 1/4″ seam along the edge.  Press the seam towards the white.  Now lay the long sashing piece along the bottom of the block with right sides together.  Stitch a 1/4″ seam along the edge.   Press the seam towards the white.


I tried to make sure that I was creating 4 – 5 blocks pointing each way.  This gives you a lot more flexibility when laying out your quilt to make it look more random :)  And now your arrows are done.


STEP 3 : BUILDING THE BLOCKS

With your arrows, you can low build your blocks.  For each block you will need 2 small sashed arrows, and 2 large arrows.  Lay them out taking care that the sashing pieces of the small arrows are on the inside of the block and opposite corners, as shown.  Point your large arrows any direction you choose.  You will be making 9 blocks this way so you can lay them all out and piece your blocks assembly line or do them individually :)


Lay the left hand block onto the right hand block on both the top and bottom rows.  Pin along the edge.  Stitch a 1/4″ seam along the pinned edge.  Clip threads and press towards the small arrow sashing.  (This will allow you to nest your seams in the next step.)

       
Now lay your top row onto your bottom row with right sides together.  Pin taking care to nest your center seam.  Sew a 1/4″ seam along pinned edge.  Press seam open to avoid bulk.  You now should have 9  12 1/2″ unfinished blocks.


STEP 4 : PIECING THE TOP

Take your 9 blocks and quilt top sashing pieces (your remaining white cut strips) and lay them out as follows. Play around with the placement of your arrow blocks until you get a look that is pleasing to you.  I find it best to take a picture of my layout that I can refer back to  :)


For each block, place the small row sashing pieces onto the arrow blocks with right sides together (see row 1).  Pin if you desire.  Stitch a 1/4″ seam along the edges (see row 2).  Press the seams towards the sashing (see row3).


Now to sew the rows together.  For each row,  place block 1 onto block 2 with right sides together.  Pin along edge.  Sew a 1/4″ seam along pinned edge.  (see row 1).  Place block 3 onto your now sewn together block 1 and 2 , pin along the edge, and sew a 1/4″ seam along the pinned edge (see row 2).  Press your seams towards the sashing (see row 3).


And now to add the sashing to the rows.  Same process as before, just on a longer scale.  Place the sashings along the edge of the row with right sides together (see row 1).  Stitch a 1/4″ seam along edge and then trim excess sashing. (see row 2).  Press towards the sashing (see row 3).


And now finally, just sewing the rows together.  Once again, same as making the rows just on a longer scale.  Place row 1 onto row 2 with right sides together.  Pin along the edge taking care to match up your seams.  Sew a 1/4″ seam along the pinned edge.  Press towards the sashing.  Then repeat the process laying your row 3 onto your now sewn together row 1 and 2, pin, sew, and press.


And your top is just about complete.  Doesn’t it just look so fun :)  Now you are ready to add the borders so go ahead and grab those 4 3″ border strips you cut.


Lay the strips along the top and bottom of the quilt top with right sides together.  Stitch a 1/4″ seam along the edge, (I don’t use pins, I just align as I go) and the trim the excess border fabric.


Repeat the same process for the 2 sides.  And now your quilt top is done!!! 


STEP 5 : MAKING THE PIECED BACKING
Grab your 1 1/2 yard backing fabric and trim it down to 50″ x Width of fabric.  Then go ahead and subcut it into 2 pieces by cutting off a 12″ strip from the selvage side.  Lay the 2 pieces along with your 6″ x 6″ backing square and your 6″ x WOF pieced backing strip out as follows.


Sew the 6″ square to the bottom of the 6″ x WOF strip to create your applique space. You can download the templates here.  Cut, adhere, and secure stitch your applique.
*Note – If you have not done applique before you can see my Applique Basics Video Tutorial that will walk you through how to do this ;) 


Once your applique is done, go ahead and sew the 3 rows of your pieced quilt back together.  You do this the same way you sewed your quilt top rows together only this time it is vertical instead of horizontal :)


STEP 6 : FINISHING IT UP

So now it is time to turn that finished quilt top into a finished Quilt ;)  Time to  Baste It, Quilt It, and Bind It!!!  Which is a whole lot in one little sentence.  If you are new to quilting, you can see my Finishing Your Quilt Series of video tutorials that will walk you through Basting, Quilting, and Binding step by step ;)

And you are done!!!!  And you have One Super Adorable ON THE GO Baby Boy Blanket measuring 46″ x 46″ perfect for a special little guy!!!!


With a totally all boy pieced back that you know they are just going to want to snuggle up with.


I hope you have enjoyed this tutorial and if you make your own On The Go Quilt I would love to see it!!  You can email me a picture at happyquiltingmelissa@gmail.com, post it to social media with #happyquiltingwithmc  or or add it to my flickr group here ;)  I can't wait to see your On the Go Quilts!!!


So that is what I was up to this week.  How about you???  Go ahead and link up your TNT !!


Pin It!